

Failproof Checklist Before Publishing Blog Posts (11 Points)
Do you employ a blogging checklist before publishing a new blog post?While creating your content calendar is the first step in the publishing process, thoroughly analysing your post before it goes live on your site is the final step.
You have to ensure that each post on your site offers high quality content
The term “quality content” refers to more than just the type of material you provide.
It’s about all of the hard work that goes into creating amazing content.
Let’s take a look at a 11 point blogging checklist you can use right now that attentive writers constantly follow while producing high-quality material.
1.Double-Check Your Headline.
It’s all too easy to let the main title or headline fall to the wayside during the writing process. A headline is often viewed as an afterthought, but it should be given far more thought.
In fact, your headlines may be more significant than the content of your piece.
Your article headline must define the topic.
Ideally, they must have digits, numbers, or facts
To the readers, they must assure the value of content in advance.
They should evoke emotion. They should grab eyeballs, and make your blog irresistible. Ideally, experts recommend that you write at least 7 headlines to practice the art of writing superb ones.
2.Check Your Subheads.
Subheadings break up your content and add that necessary scan-ability to your post.
Furthermore, if the reader is thrilled by the material, subheads force the reader to slow down. Then people truly READ what you have to say.
As a result, I recommend that you divide your blog article into many parts; the fewer the paragraphs, the better.
Use subheads to break up your paragraphs. It’s best if it’s bold. Just make sure the subhead says what the paragraph is about.
Keep your subheads short, preferably not more than 8 words. Your subheads should act as teasers about the section under them, without revealing much. Else, the reader is not too enthused to dive into your main content.

A subhead should normally deliver these :-
1.Curiosity
2.Surprise
3.Personality
4.Emotion
So, you’ve got a bit of a job on hand while crafting your subheads.And if they aren’t good enough, mend them before publishing your post finally.
3.Proofread Your Permalink
Finding a typo in your content’s URL or permalink, is just disappointing.
The fundamental issue with WordPress permalinks, as useful as they are, is that the default permalink configuration — the one that comes preloaded with WordPress – isn’t optimised in the least.

What you need, instead, is a short, easily identifiable permalink.
Here’s an easy step to resolve this issue.
To set your permalink structure, go to your wp-admin / Settings / Permalinks. Once there, select the simple option of a shorter URL.Once done, you’re good to go.
4. Choose A Date And Time For Publishing.
Have a consistent publishing calendar for your work.
And even when you publish your blog there are minor glitches that are avoidable.
For example,when you choose a “New Post” in WordPress or any other publishing platform, I always recommend that you specify your publish date and time first.

If you begin writing or revising your material while the status of your post is set to “Publish Immediately,” you risk accidentally publishing your draft before it is finished.
I’m not sayinng that everyone who has made this error did so because they were reckless.
It’s just that such things happen, and it’s unfortunate.
So the way out of mishap is to first write your draft on another word processor, and later copy it to the wordpress “new post” block before finally publishing it.
5. Post The Author Bio
Even if you’re the only person who writes for your site, don’t skip over this step on your blogging checklist.
You know what Google is focussing on these days?
Google is looking for expertise, authoritativeness, and trustworthiness (EAT).This is an indirect factor for SEO and ranking. So adding a strong author bio is also a good strategy for improving your blog’s Google EAT score .

An author’s bio is a short paragraph that tells people a little about the author, indicates dates, and provides contact information about the author,and adds other details, like the author’s works.
So for writing your bio,start with your name and profession and write in the third person about yourself.
In a few short, unambiguous sentences, describe yourself.
Importantly, avoid using terminology or titles that make it difficult for viewers to connect with you. Articles you write for periodicals and newsletters should also be included in your byline.
If you run a multi-author blog, double-check that you’ve chosen the right author and that their bio is up to date.
6.Check Your Hyperlinks.
By adding useful links in your text, you establish yourself as the go-to expert on your subject. Eventually,readers that have faith in your link will return for more.
The owners of the blogs to which you link will frequently link back to you – or direct their viewers to your site.This makes it a win-win scenario for everyone.

Here’s also the best contribution of links for your site…
Undoubtedly, links have a great impact on your SEO.In fact,the more backlinks you have from other credible websites,pointing to your web page,the better it is.
But there’s another reason for emphasising the importance of links. What’s that?
Here’s the thing. Nobody wants to get an email from a reader informing them that a link in one of their articles is broken, or leads to the wrong page.This kind of botch-up only erodes your credibility over time.
So it helps to revise your post on the Preview page before pressing that publish button. And make sure you carefully select hyperlinks and click-test them all, one last time.
7. Confirm Correctness Of Your Categories.
Categories help readers find additional information on a topic by organising it and making it simpler for them to locate it.
A blog category is a topic that your blog addresses. And a category list functions similarly to your blog’s table of contents.

Yet, categories are wider in scope and can include a variety of smaller, more specific topics (i.e., tags).
The title of a category should be descriptive and can run into many words.
If you’re investigating a new topic, assign the appropriate categories to your material or create a new one.
Categorizing your blog article may not appear to be vital for SEO, but it is. By properly categorising your blog entries, search engines will be able to readily recognise the categories and decide which one they belong to.
8.Eliminate Grammatical Or Punctuation Errors.
Give particular attention to misspelt words and terms that have been abused.
Your computer spell check will have caught the most obvious errors, but it may not be able to determine the difference between “their” and “there,” or where “malaise” or “malady” should be used un your sentence.
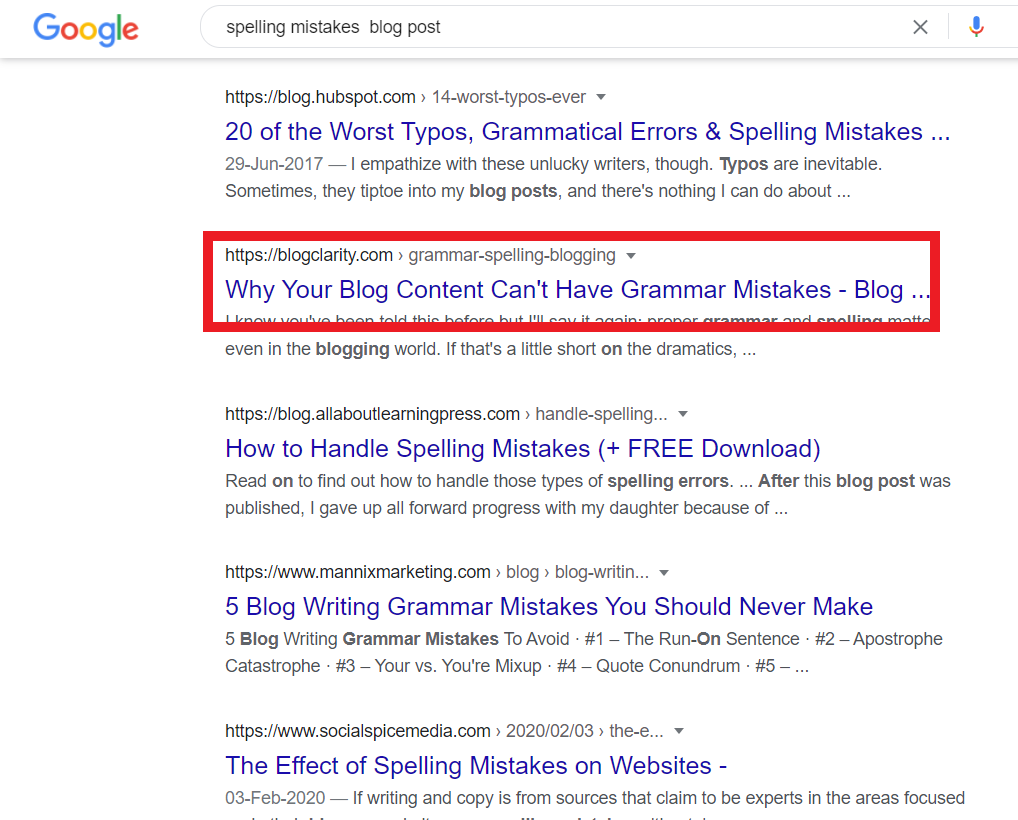
If you’re unsure about a word, pull out your trusted dictionary and look it up manually. Or look up an online thesaurus
In addition, the most recent WordPress version has a proofreading function that can repair more than simply the most typical errors.
So put these “helps” to productive use.
9. Put Your Featured Image On Display.
A featured image is a picture that goes with a blog post or a web page. It’s also known as the primary image. This is an important aspect of your blog, but oft overlooked.
In fact, this image is frequently seen at the top of content pages and blog posts. When posting a link to an article on social media, featured images are normally turned up first by default.
You may not be aware of it,but featured images can be used for more than simply your blog.
How?
Just set them up in the right places on your publishing platform so that the right ones appear on social media when you post your work and when others share it.
10. Ensure You Post Is Copyright-free And Legit
You must constantly be mindful of copyright rules and the utilization of visual content, if your posts involve photographs, videos, or other referenced resources.

There are numerous websites that provide free photographs; use them. And in case you’re creating the video or visual content yourself, there’s nothing better than that. Because your own images and videos inject a huge dose of authenticity and realism into your content.
In any case, never publish someone else’s work because it results in legal suits, penalties, and a tarnished reputation.
11. Add References To Back Up Your Claims.

Once you’ve decided on a topic and written about it, make sure your material incorporates supporting references and resources you found while researching.
These citations lend credibility and authority to your piece, but you must ensure that they are from credible sources that offer fresh, updated, and correct information.
They will also gradually improve your SEO results, resulting in a boost to your marketing efforts.
Conclusion
You can be certain that your articles are as close to ideal as possible by using a blog checklist.
Or,you could always get down to composing a blog post without planning ahead of time.
But, in your opinion, how successful will that blog post be?
Will people like it and spread it? Will it be linked to? Is it going to be found in search engines? If not, you’d be better off doing something else with your time.
Instead I recommend that you use a checklist for publishing blog post. If you don’t have your own checklist, then use this one. Either way, make sure have a consistent, failproof blogging journey all the way to success.